Interview Lighting For Multi-Camera Video

A video interview can be as simple as two people sitting and talking to each other on a couch or as complex as a staged panel interview or survey of strangers on the street. Maybe while watching TV, you see a host talking to some people in a huge, beautifully lit room. This interview lighting might seem effortless, but it can actually be difficult to accomplish.
While you may be used to shooting no-frills, single-camera, documentary style encounters, sometimes a multi-camera setup is the best or only way to capture a particular interview configuration. Interviews with multiple cameras can invite varying production problems, and you could spend hours trying to figure out how to arrange the lighting. But don’t fear– Cinamaker is here to help! What follows are some tips and steps on how to set up interview lighting for a multi-camera video shoot.
Ensure All Cameras Are On The Same Side Of The Axis
When setting up interview lighting for multiple cameras, make sure that all the cameras are on the same side of the axis, or the imaginary do-not-cross line created by the 180-degree rule. Reverse angles only result in everyone being framed on the same region of the screen. To set up lighting for multiple cameras, you need to place your lights based on the location of each camera.
A Three-Camera Interview Lighting Setup
You can light a three-camera shoot using just four or five lamps. When you have multiple cameras focusing on two or more people, there should be one camera in the center and then one camera on the left and right of your interview subjects. Once the cameras are in place, you can begin a three-dimensional lighting setup with the right camera.
First, position a key light about 45 degrees above the subjects and slightly to the left side of the right camera. Next, ensure that the backlight is directly adjacent to the camera. This backlighting should target the person facing the right camera. It should also light the face of the individual speaking to the interviewee. This right camera lighting setup will ultimately provide the fill light for the camera on the left and vice versa.
At this point, you have two cameras and four lights set up. You can now add an extra light directly above the middle camera or to the left or right of a middle camera. This fifth light will soften the shadows and provide a sweep for the scene. This light needs to be less bright than the main lights, as this creates a disparity between the dark and light areas.
After you’re done with lighting setup, look through the cameras to ensure that you’ve properly lighted the area. Feel free to rearrange the lights in different directions to achieve the perfect scene. If it’s not properly setup, you’ll need a slight change in light concentration. You can always use a grid cloth or a white board to bounce the light back to the objects.
Other Important Considerations
-
To achieve the best lighting, check to ensure that the background communicates something important about the interviewee. The shots should be complementary rather than distracting.
-
Be sure none of your angles accidentally include shots of wires, cameras, lights, or anything else that will break the illusion of your set.
-
Your audience needs to believe that the people on camera are engaged in a meaningful conversation– make sure your angles and lights successfully capture the expressions of your subjects, and that you anticipate the necessary close ups or wide shots to get the most out of it.
-
When scouting your location for the interview, consider how tall the ceilings in the room are, what pre-existing lighting conditions are, and whether the space in the room looks dull, colorful, or just a space of white walls. These qualities will affect your lights, props, and overall configuration.
The trick with lighting for multiple cameras is really quite simple: light your scene with key light, fill light, and backlight according to three-dimensional lighting principle. If you do this and apply some of your own creativity, you can achieve a polished, bright look with the tone you want for your interview.
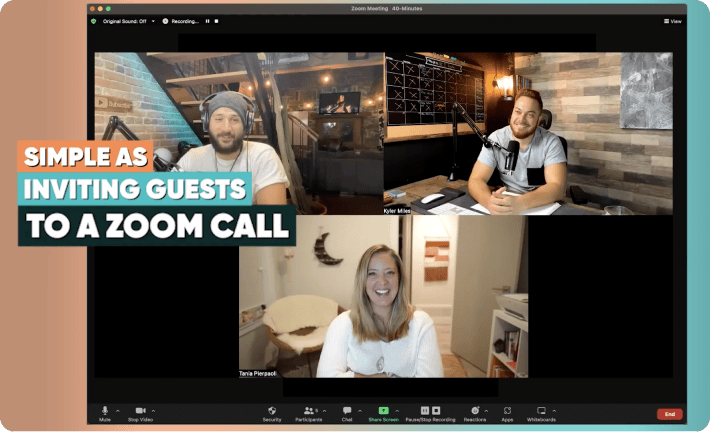
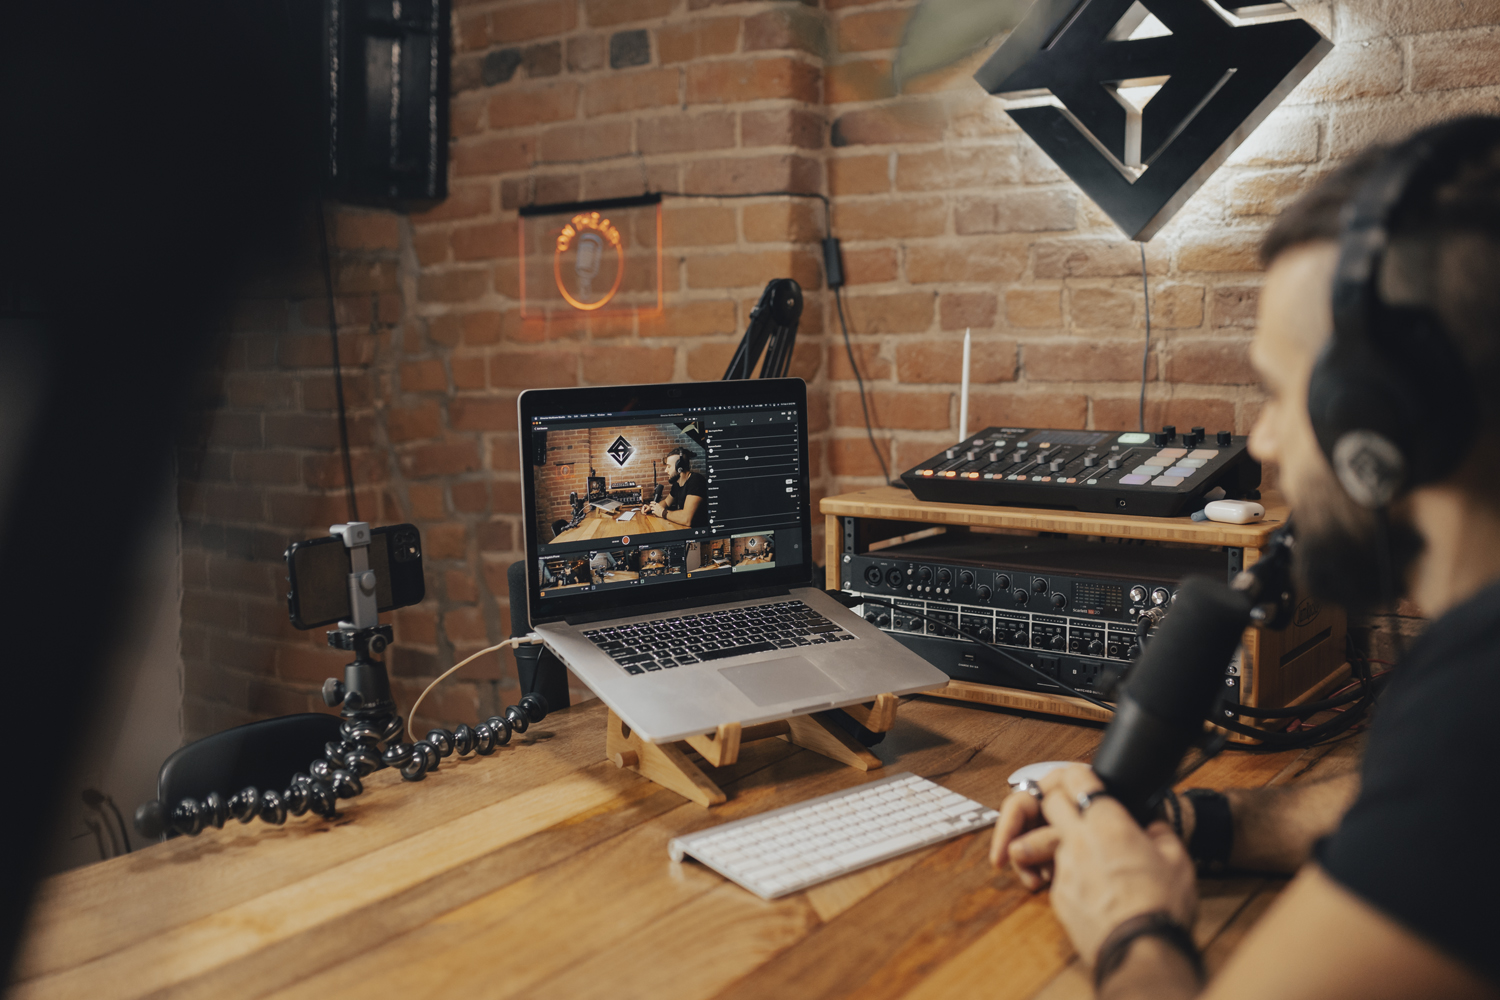
Still looking for an affordable multi-camera solution? Download the Cinamaker apps today to begin creating quality multi-camera productions with just your tablet and smartphones.